FE 14mm F1.8 GM | Capture intriguing timelapse shots | Review by Phong Yap Hui
Yap Hui is a time-lapse photographer who relishes shooting mountains and seas, capturing the expansiveness of these environments and observing how these scenes naturally shift and evolve over a period of time.

The magic of time-lapse photography
Time-lapse photography is a fascinating aspect of photography that compresses long periods of time into minutes and seconds – allowing viewers to see how a landscape or environment can change as the earth revolves and nature unveils its wonders throughout the day or night.
The principles of shooting time-lapses are simple, yet highly intriguing. The fundamental principle is being familiar with the duration of the phenomenon you plan on capturing. For instance, when shooting sunrise or sunsets, you would learn that the process of the sun rising or setting, lasts around one hour. This understanding will allow you to better plan your shots, settings, camera battery management, and more.
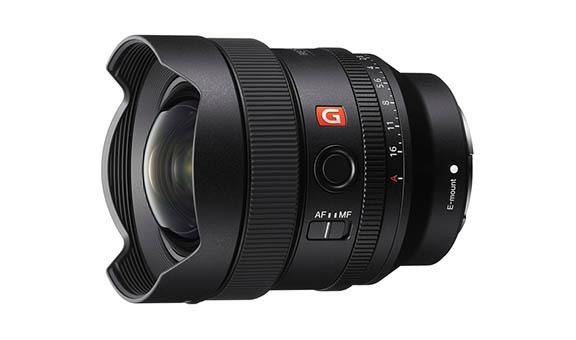
My personal favourite camera and lens combination is the Alpha 1 and FE 14mm F1.8 GM prime lens, which are perfect for truly captivating time-lapse shots.
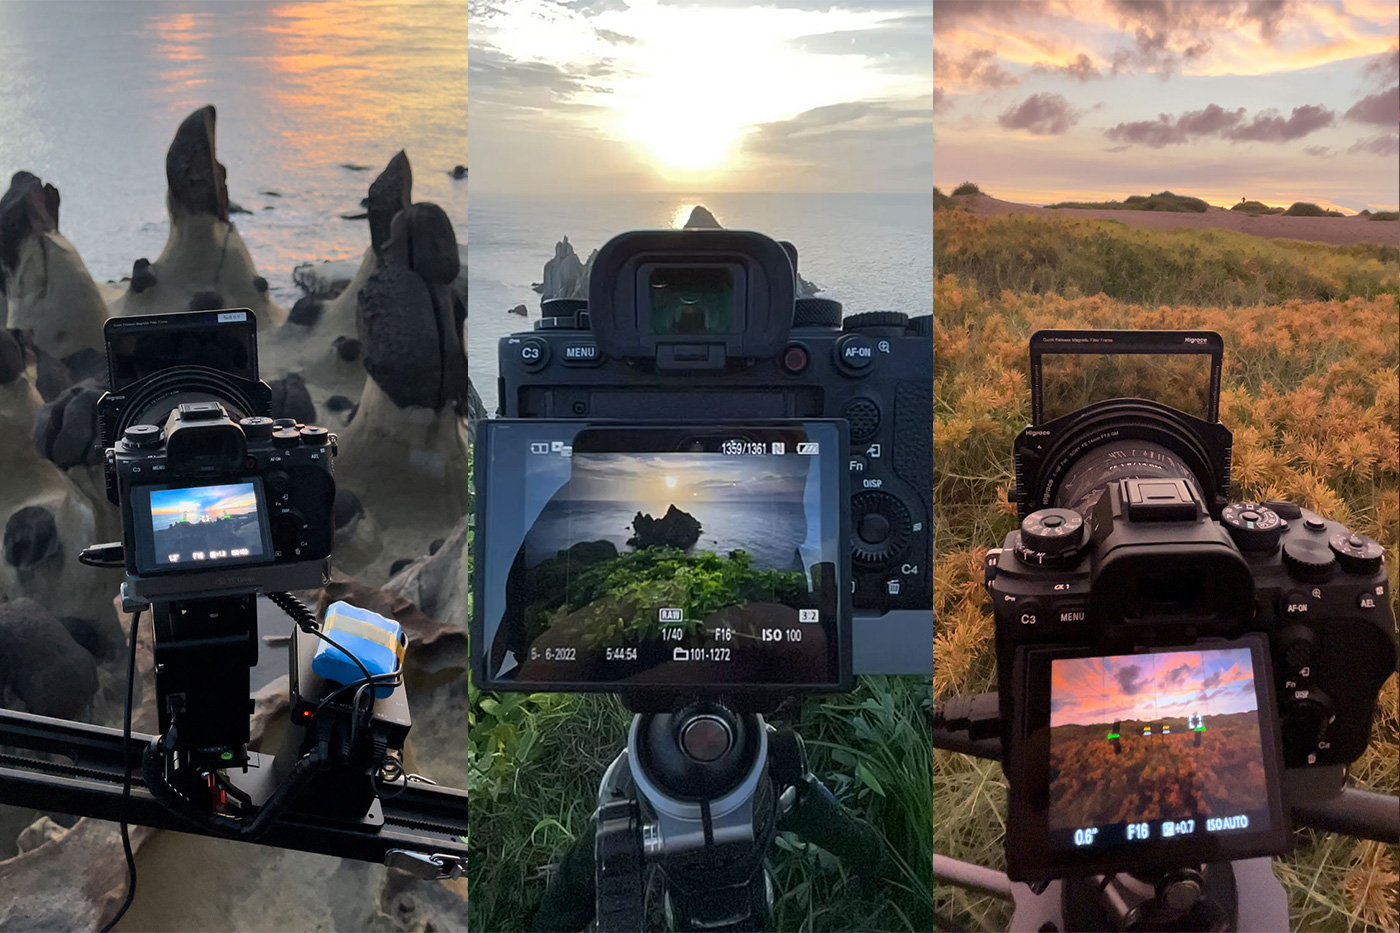
Sunset in Changbin
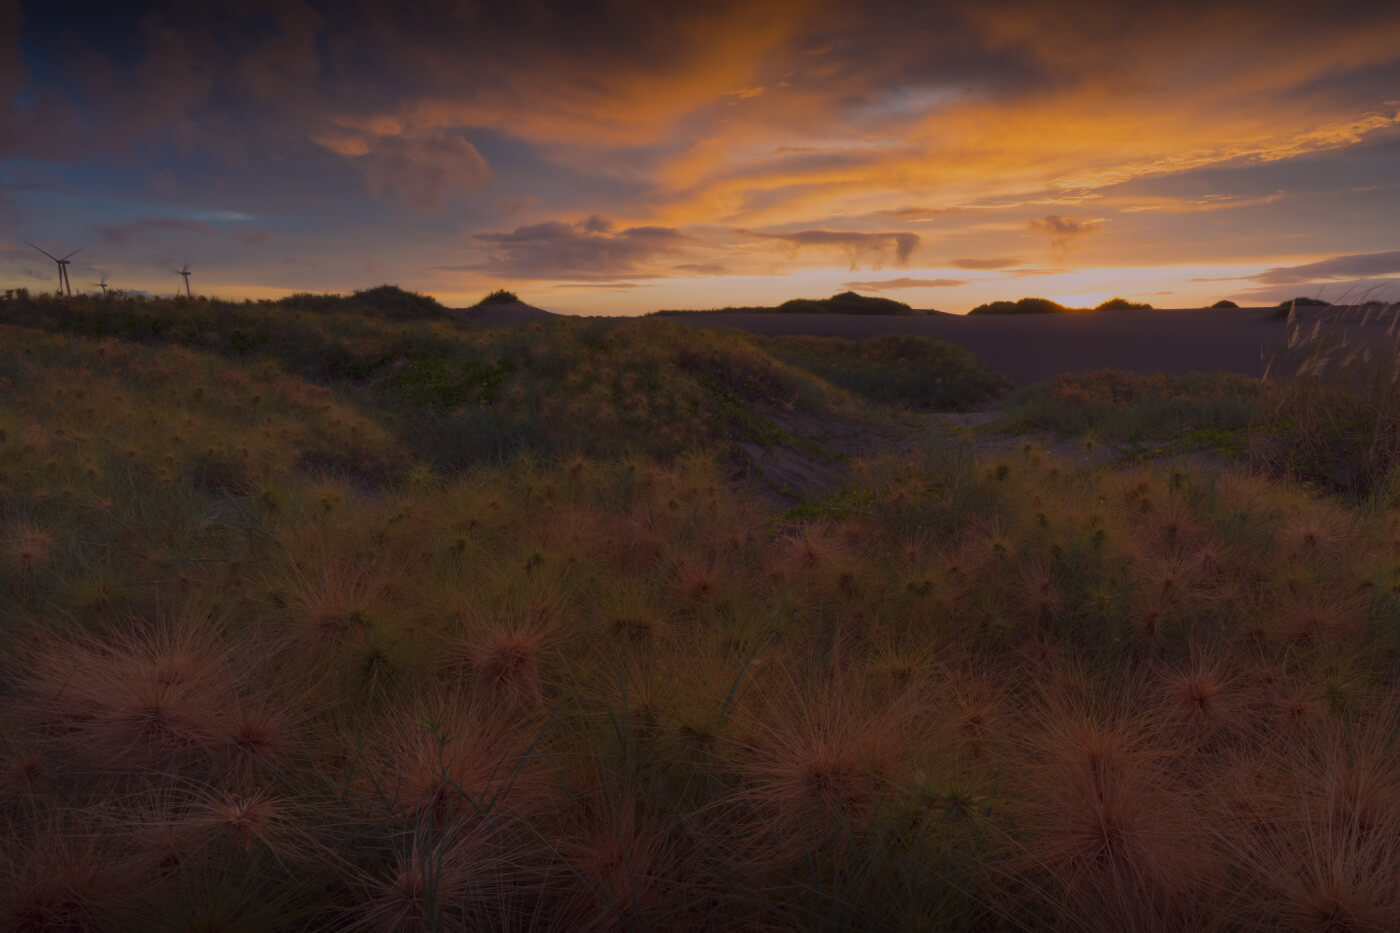
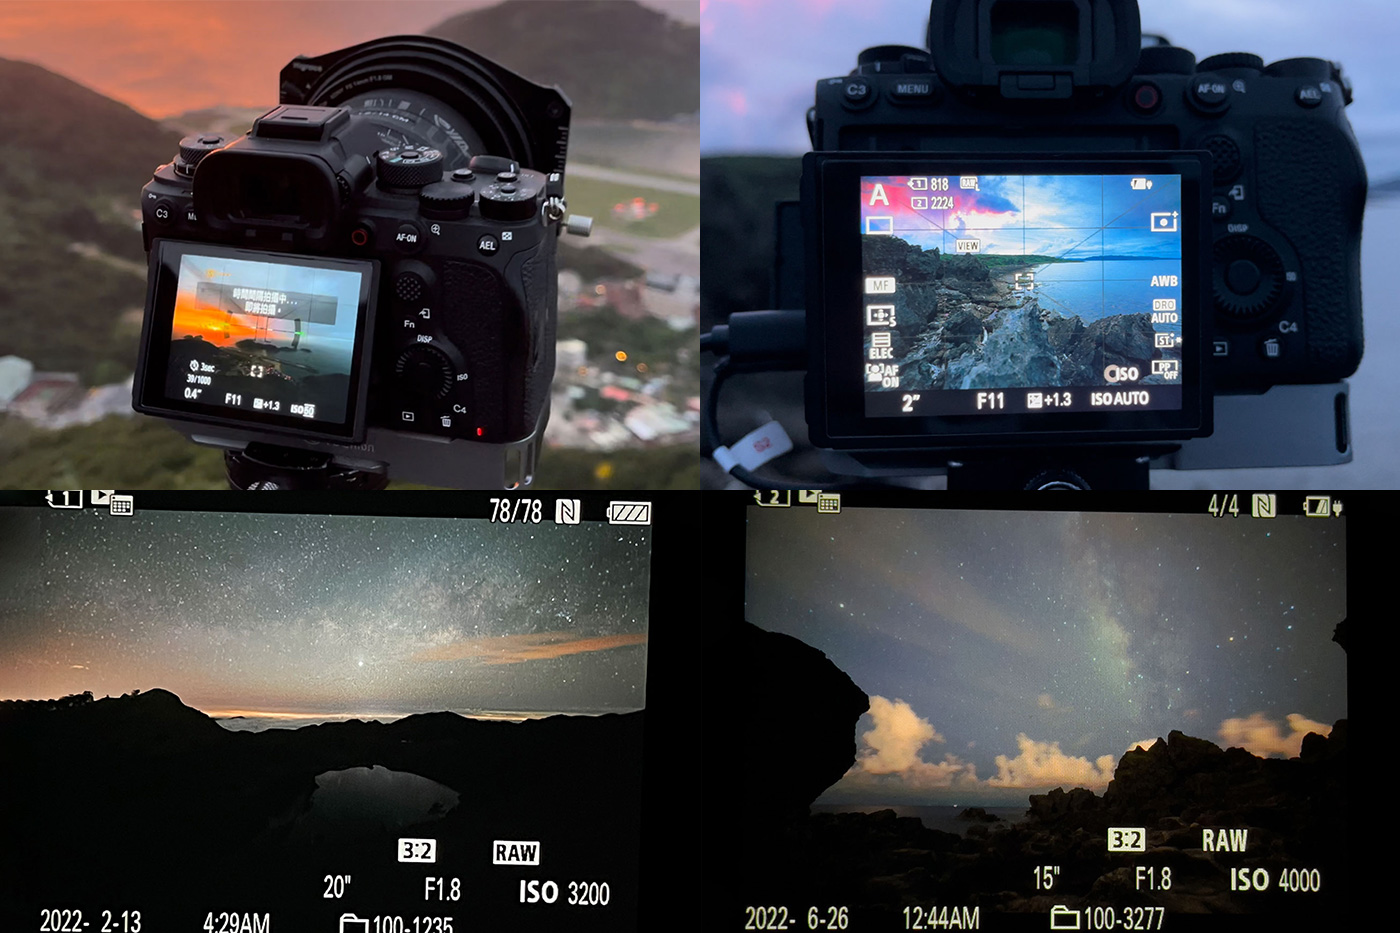
When shooting the sunset in Changbin, I estimated that the shot would take around 45 minutes – starting 15 minutes before sunset and lasting until 30 minutes after.
This is where calculations are helpful. 45 minutes is equivalent to 2,700 seconds, which allows me to take around 900 time-lapse photos at a rate of one shot every three seconds. Remember that extending the exposure time can reduce light sensitivity in exchange for better photo quality. In the Alpha 1 camera settings, you can find an ISO AUTO setting with a minimum speed of two. The ISO AUTO range value can be set to your personal preference. Personally, I recommend a setting of between 100 to 3,200.
Before sunset, you can reduce the aperture to F16 in exchange for more depth of field. As the sun sets, the light will gradually weaken, and the exposure time will gradually increase to two seconds. When this happens, increase the ISO to 100 – 3200 to maintain the quality of your photos.
When then ISO exceeds 200/400, adjust your aperture from F16 to F11 and the ISO will be reduced by half. Keep doing so until your aperture goes down to F2.8.
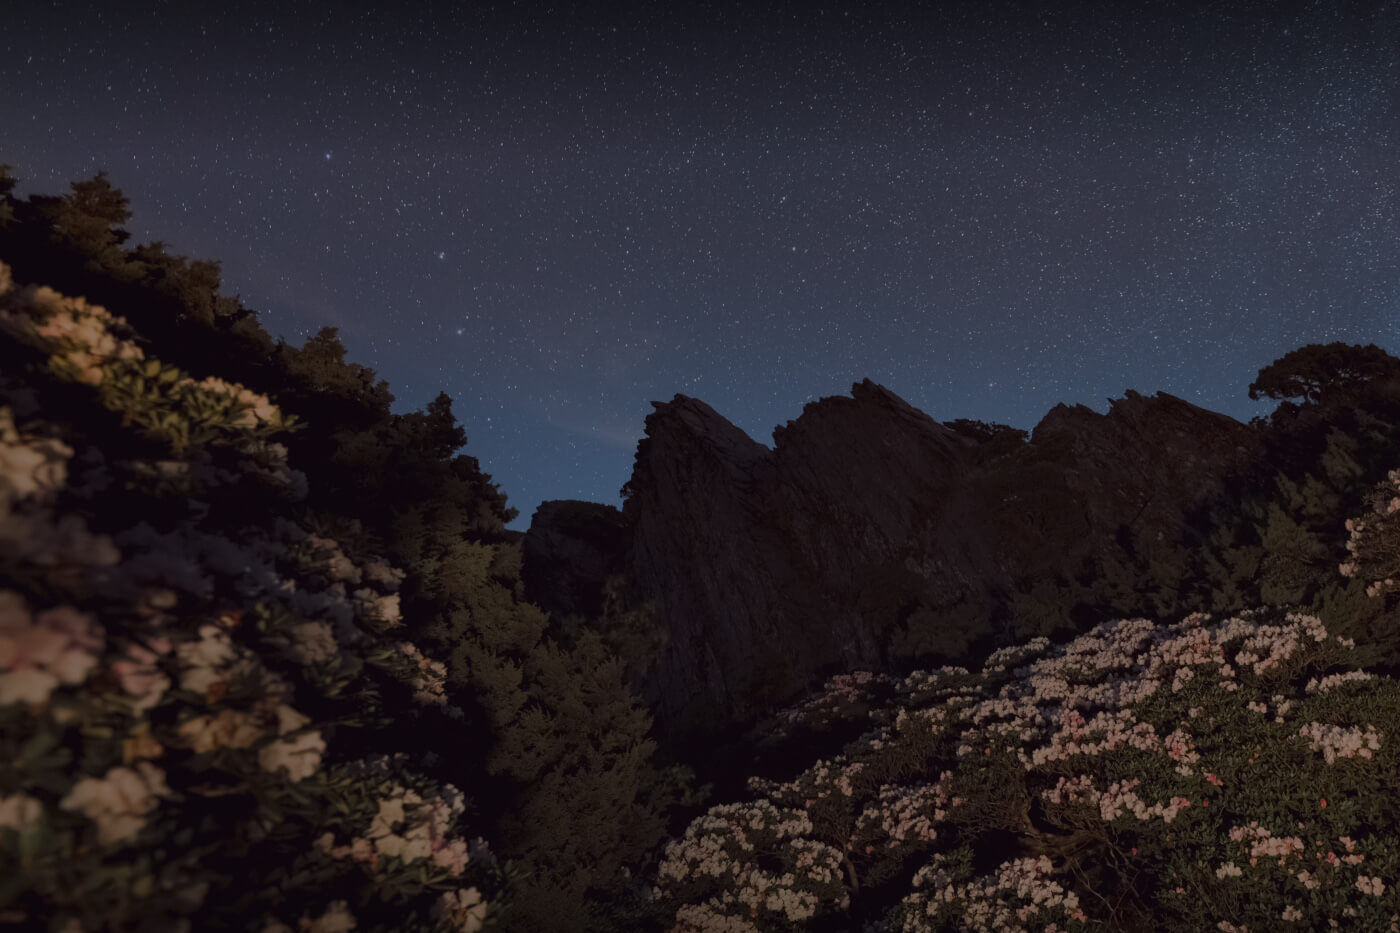
The beautiful blue tears phenomenon
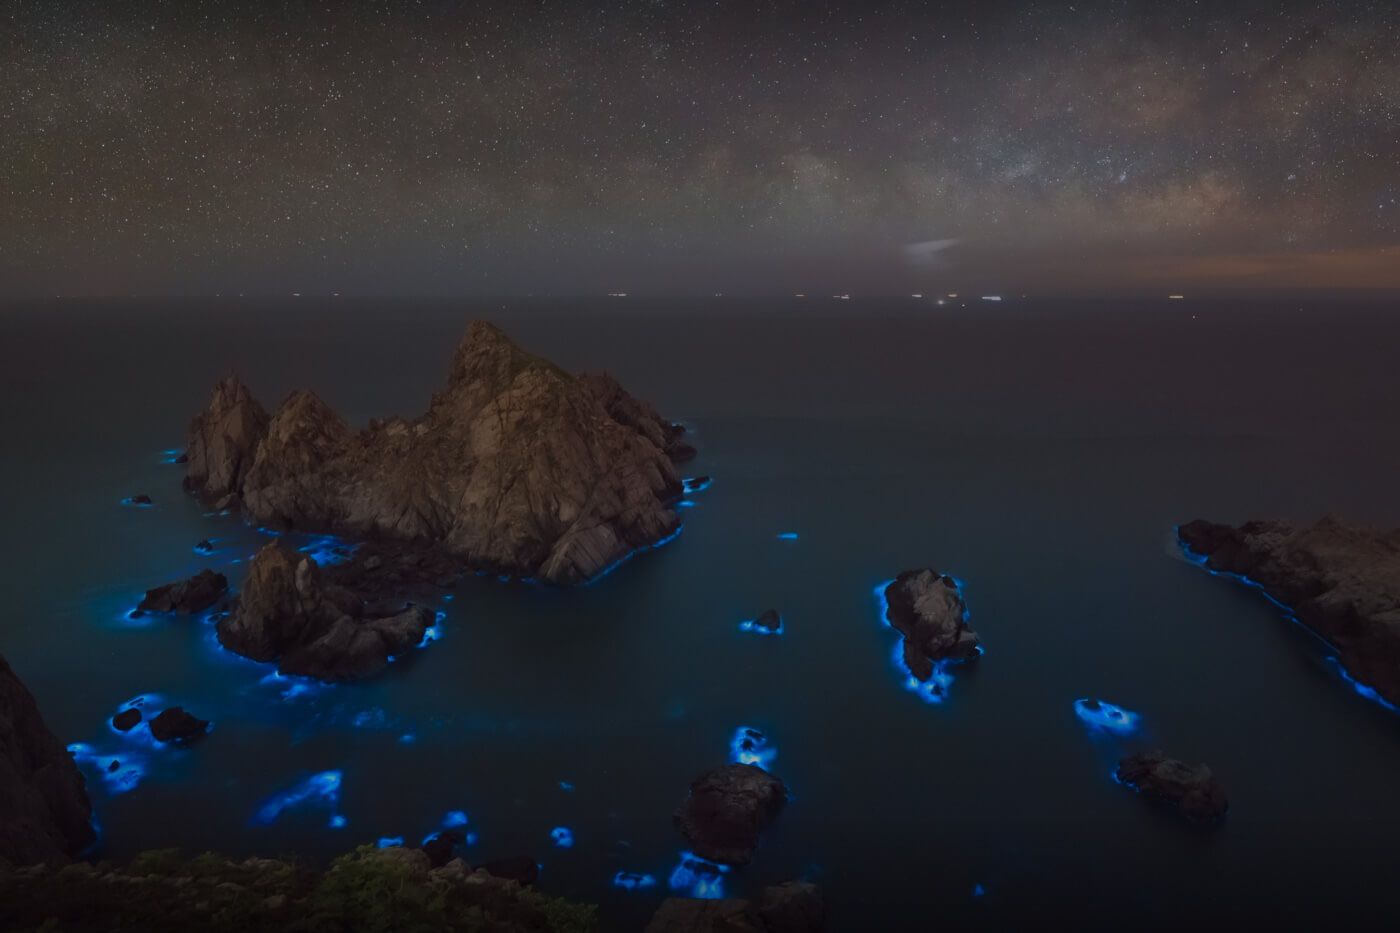
Blue tears is a phenomenon that happens as a result of bioluminescence, and is ideally captured in extremely low light – preferably during a high tide, when the waves hit the reef and the glow of the algae is accentuated. This phenomenon usually lasts around three hours.
To create a time-lapse video with a high frame rate, shorten the exposure time so you can capture enough photos during this limited timeframe. Note that shortening your exposure time will cause your photos to be underexposed, so choosing a high-quality, large aperture lens (like the FE 14mm F1.8 GM prime lens) Is essential.
These shots are scenes of the blue tears at Dongju Island, Matsu. This seasonal occurrence typically happens from April to June each year. I chose to shoot when there was no moonlight, and when the Milky Way was visible. In addition to these considerations, you’ll also need to consider the wind direction (southern wind is best), temperature (18 to 22℃ is recommended) and weather (clear and fog-free).
Because the shooting environment will be almost completely dark, I recommend using Manual (M) mode with settings at F1.8, 15s and ISO 2000. If there is a fair amount of light pollution, you can lower your ISO to avoid overexposing your shots.
Quick guide: Timeframes and intervals of popular shots
To help you get started on your time-lapse shots, I’ve listed the timeframes and recommended interval times of popular scenes.
Timeframes of popular scenes:
- Dawn and dusk: 1 hour
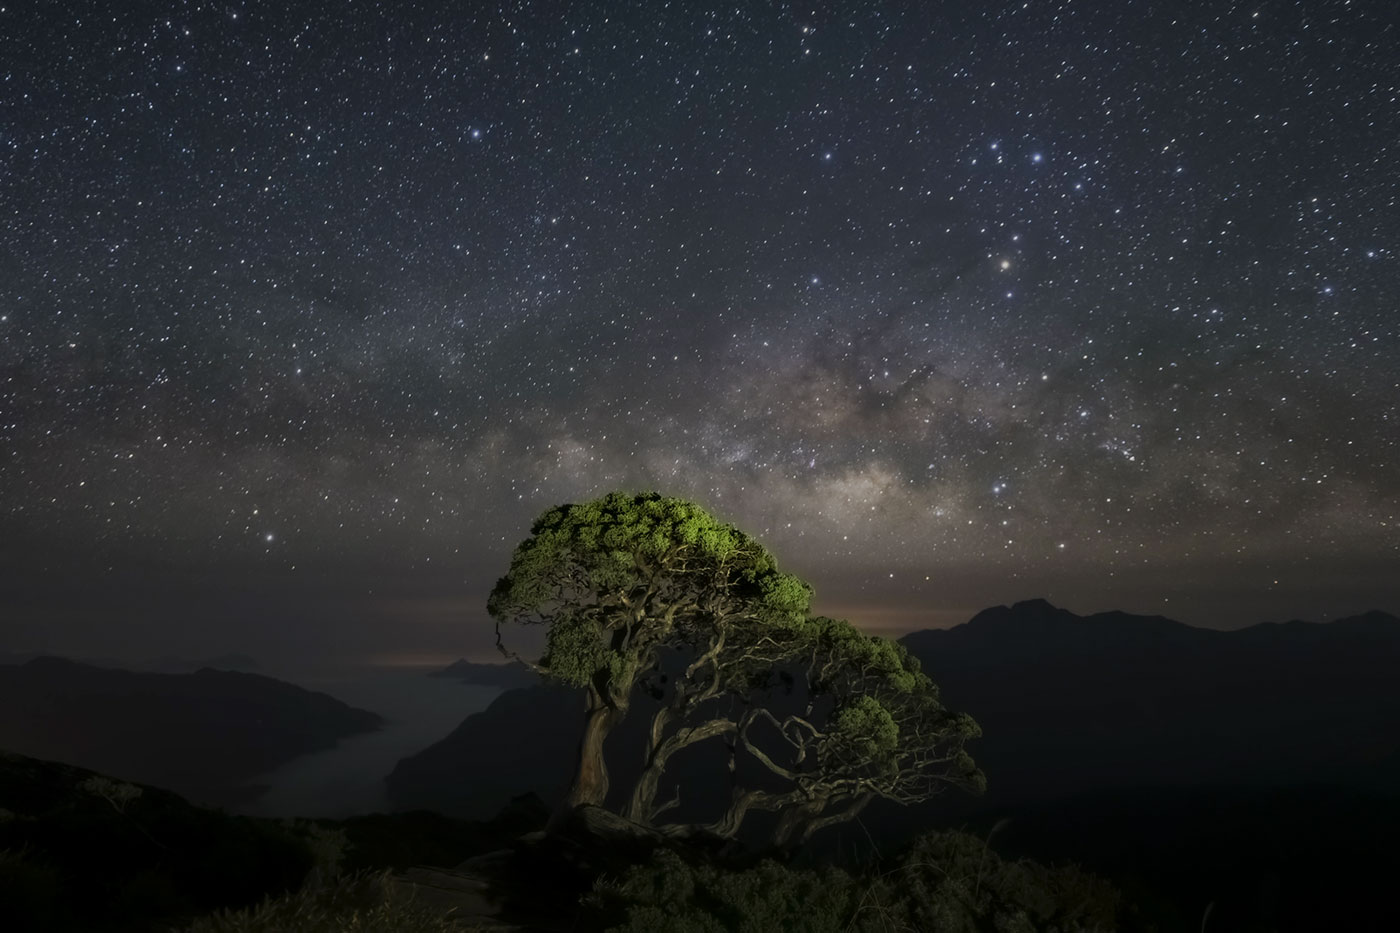
- Star trails and galaxies: 2 to 4 hours
- Hanging sun: 20 minutes
- Rainbows: 15 minutes
When programming interval times, you can use this formula:
- Longest exposure time of the scene + 1 second = Interval seconds
For example, the longest exposure time for dawn and dusk is 2s + 1s = 3s, and the longest exposure time in the starry sky and the Milky Way is 15s + 1s = 16s.
Additionally, scenes that lasts a shorter time (like rainbows), can be shot using an exposure time no longer than 0.5 seconds, with the interval time being 1 second. This way, you can take 900 pictures within the 15 minutes that the rainbow is visible.
For scenes like a "hanging sun", the long focal length and slow shutter speed can lead to shifts in focus that result in blurry images. I’d recommend setting your shutter speed to no lower than 1/30s or 1/15 seconds, with your interval time being 1 or 2 seconds (depending on the focal length and the stability of your tripod). If your shoot requires a long focal length that must remain stable from day to night, long exposure remains a priority – but first, ensure that your tripod is very stable and prepared for horizontal stabilisation.
My thoughts on the FE 14mm F1.8 GM prime lens
To be honest, I had waited for a lens like the FE 14mm F1.8 GM prime lens for over three years! I usually shoot outdoors, which makes a lightweight lens is a priority for me. I also often prefer shooting in 8K, and the incredible 8K image quality of the FE 14mm F1.8 GM always gives me confidence that the shots will turn out excellent.
What’s more, the small lens diameter is ideal for use in mountainous areas. Under the low temperature and high humidity of these environments, the small surface area minimises contact with cold air, which is a common cause of mirror fogging – and something I’m happy to no longer worry over.
The FE 14mm F1.8 GM can also be equipped with a 100mm filter system. This lets me easily balance image contrast in advance, and extend exposure times to capture higher quality images.
When paired with the Alpha 1, which has a very strong latitude and saves 16Bit RAW files, this is an ideal combination for time-lapse photography at all times of the day – both mornings and evenings. With the 16Bit RAW files, details in dark areas can also be restored in post-editing, which greatly enhances the quality of the final time-lapse shots.