Finding the Right Place, Right Time For Starry, Starry Nights | Astrophotography with Luke Tscharke Part 1
Back then, there were only advanced telescopes, made available to some, to capture a clear picture of the night sky. Today, high-powered cameras capable of creating stunning photos of celestial objects are available on the market, providing the opportunity for anyone to try their hand at astrophotography.
For Tasmania-based Australian photographer Luke Tscharke, this has given him the means to deepen his lifelong fascination with planets, star clusters, and galaxies thousands of light years away from our solar system. Award-winning snaps and regular contributions to the Australian Geographic Magazine, litter Luke’s portfolio of breathtaking photos of the night sky’s natural beauty.
In this first of the three-part astrophotography series, journey with Luke as he delves into the secrets of finding the perfect time and location to capture awe-inspiring photos of celestial bodies:
Avoid any sources of light
Light sources, especially cities, can create extensive light pollution, which can obscure the night sky and the natural sparkle stars, planets, and galaxies emit.
“In finding a location, there are a few key elements that we should consider. The most essential among them is that it should be away from a city or any massive light sources as this will make it difficult to get a clear image of the deep sky objects you want to capture,” said Luke.
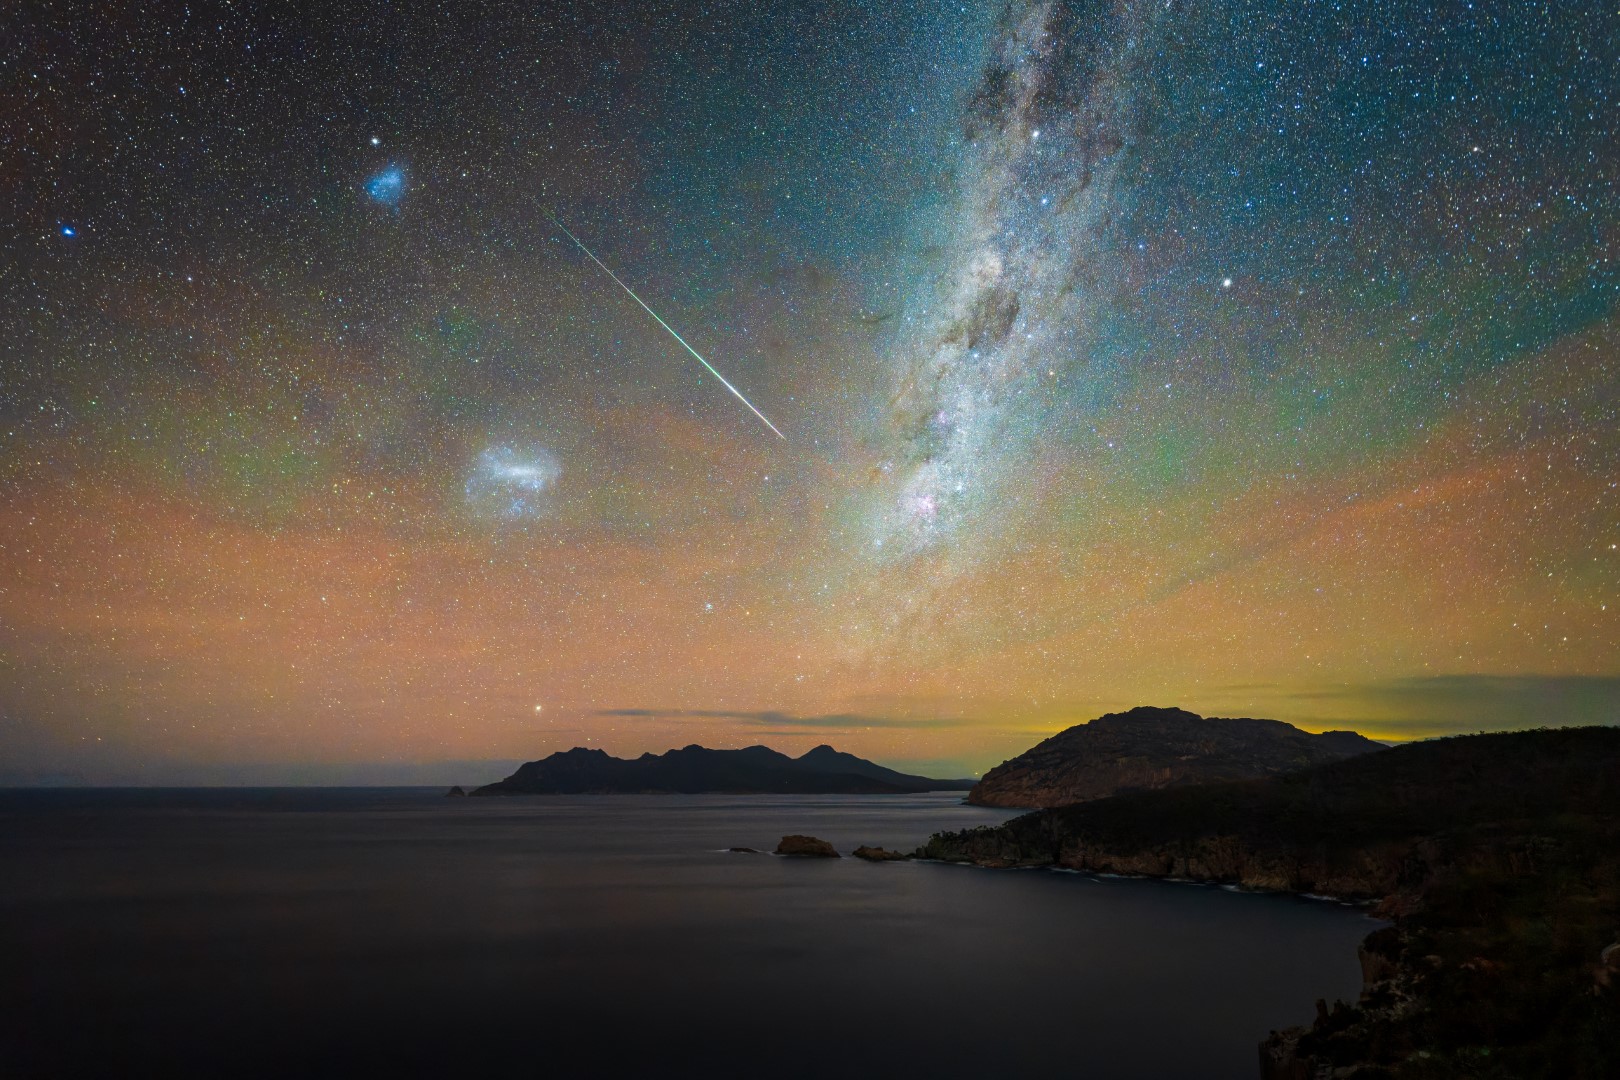
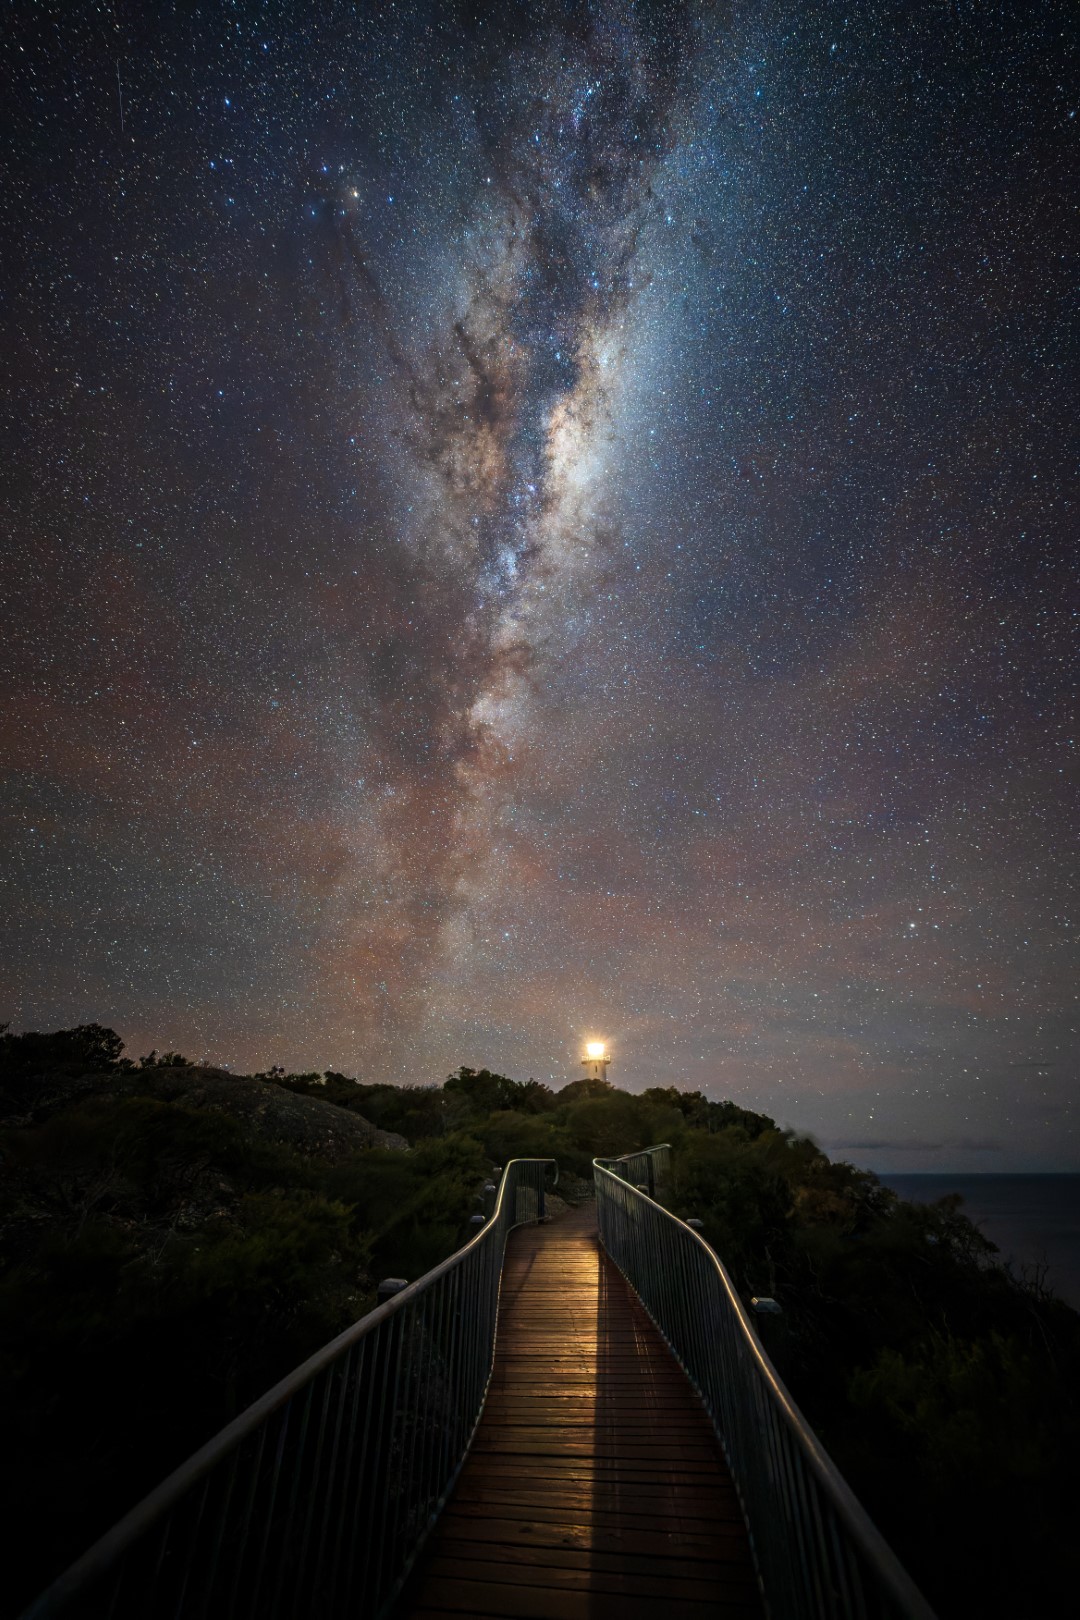
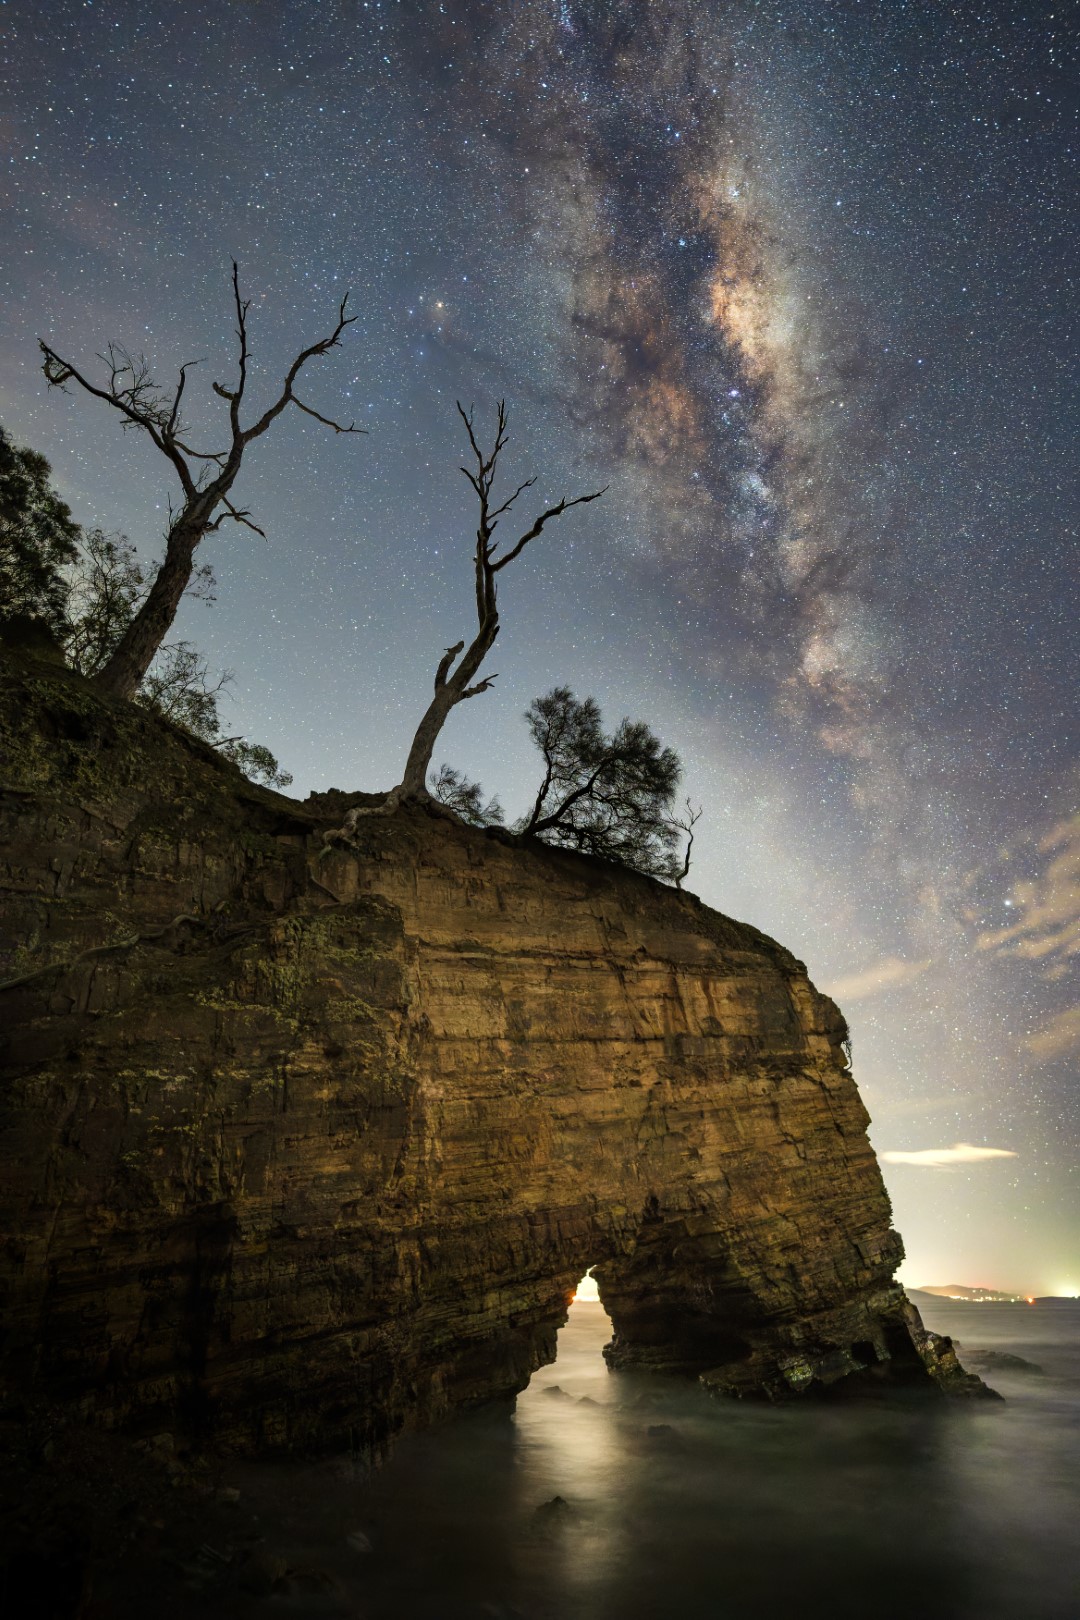
Luke prefers shooting nightscapes, a form of astrophotography that captures landscapes at night. This means that the locations he chooses are those that can also make beautiful daytime photographs. His favourites are sea stacks, mountains, and built structures like lighthouses.
“As a general rule, if it wouldn’t make for an interesting photo during the day, then it probably won’t be as interesting as a night photo as well,” Luke said.
There are online websites that that provide information on areas with minimal light pollution that Luke uses to scout new locations.
The clearer the skies, the brighter the stars
Keep an eye out for weather forecasts and ensure that the sky will be clear on the night of the shoot. Summer, generally, brings clearer skies, but it’s still important to consider external elements like bushfire smoke and other atmospheric particulates that can make the view hazy. On the other hand, winter provides crisper and cleaner skies, but clouds can still hinder astrophotography.
“The weather will always vary. It can be cloudy in the summer or have clear skies in the winter. It’s best to be flexible and check out cloud forecasts to know whether it’s a good time to shoot the stars before going out,” said Luke.
Find the perfect timing
Think of the Milky Way setting and rising the same way the sun does. The time the galaxy rises from the eastern horizon gets earlier by just under four minutes every day. This means it will rise earlier and earlier over the entire year.
If you want to shoot the eastern rise of the Milky Way, the best times to catch it are the nights of April to June. The western fall of the galaxy, on the other hand, is best captured from September to November.
“Since the night skies vary throughout the year, it is important to do your research first. It may also depend on which part of the globe you are in, so make sure that you ensure this before you go on location to avoid disappointment,” the photographer suggested.
Consider moon luminosity
The moon, being the brightest object in the night sky, significantly impacts the visibility of the stars. As it moves from a full moon to a new moon, the sky gets darker throughout the month. According to Luke, approximately 10 days per month around the new moon phase there are enough dark skies for astrophotography. Ideally, a moon luminosity of under 25 percent is low enough to provide clear night sky images with brightly lit stars and other deep sky objects.
“It’s also worth noting that sometimes the moon only rises after the ideal time for viewing the Milky Way. So, take advantage of the time with no moon in sight because the skies will be dark for you, and you’ll get photos with bright celestial objects,” he said.
Take inspiration from other people’s works
The easiest way to find a good location is to go to the locations you see in other photographers’ works. In the event that you do so, find a different angle or new spots to make your photo unique and stand out. Inspiration is everywhere, and it’s never wrong to recreate a shot you liked. What’s important is that you know how to add your own twist on the ideas of other photographers you admire.
“Take inspiration from other people’s works but remember to always add your own take on it. Get your creative juices flowing and find out how to present the same location in a way that is unique to you and your style,” said Luke.
Photographing the night sky in the city
While shooting on location is preferred, astrophotography in the city is not at all impossible, according to Luke. However, since it is a great source of light that may interfere with the ideal sky luminosity, it must be taken under specific conditions. If you live in or near a city and just can’t wait to go on location to try astrophotography, fret not! Here are Luke’s tips on taking photos of the night sky in the city:
- Chance upon cloudless skies with as minimal atmospheric haze and light as possible.
- Around 2-3 AM is a great time to take photos, as most people are asleep and many establishments are closed, ensuring that light pollution is at a minimum.
- The moon phase should be close to the new moon or at least not in the sky during shooting time.
- Use a light pollution filter over your lens which helps block a certain amount of light that washes out the night sky from your camera.
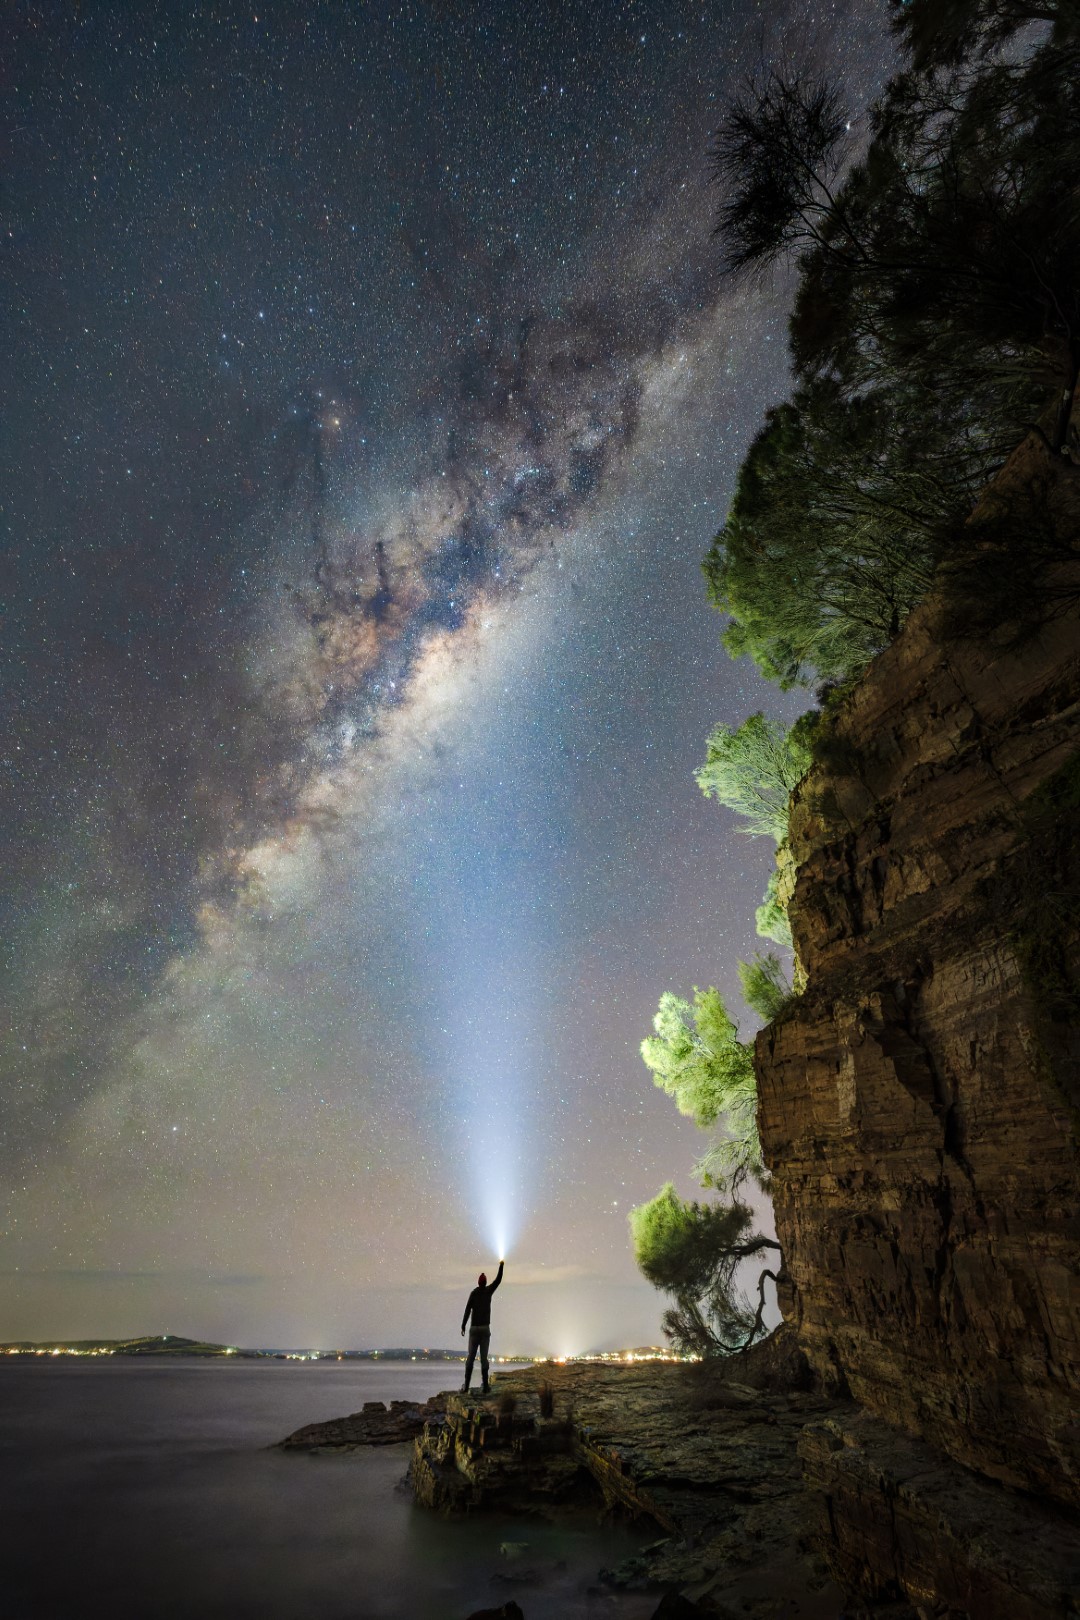
- Face away from the brightest light source near you. Heading to the coastline and facing the ocean is a great way to start as there are minimal to no light visible.
While finding your own location for astrophotography can be tricky and the weather may not be in your favour, versatility is key! As Luke shares, “you can still turn things around by finding other fun things to photograph, like light painting for instance. Ultimately, it all comes down to strategic planning and thorough research. Go forth and seek clear skies!”